VMware Lab WPF
This application permit to create some lab in VMware Workstation I used a wrapper to interact with it.
0. What you need
- A strong computer with CPU and some RAM I have 64Gb RAM and 1 To SSD NVme
- Nested appliance create by William
@Lamwhere - VMware vSphere ISO for your VCSA and extract the OVA
1. The Section Info
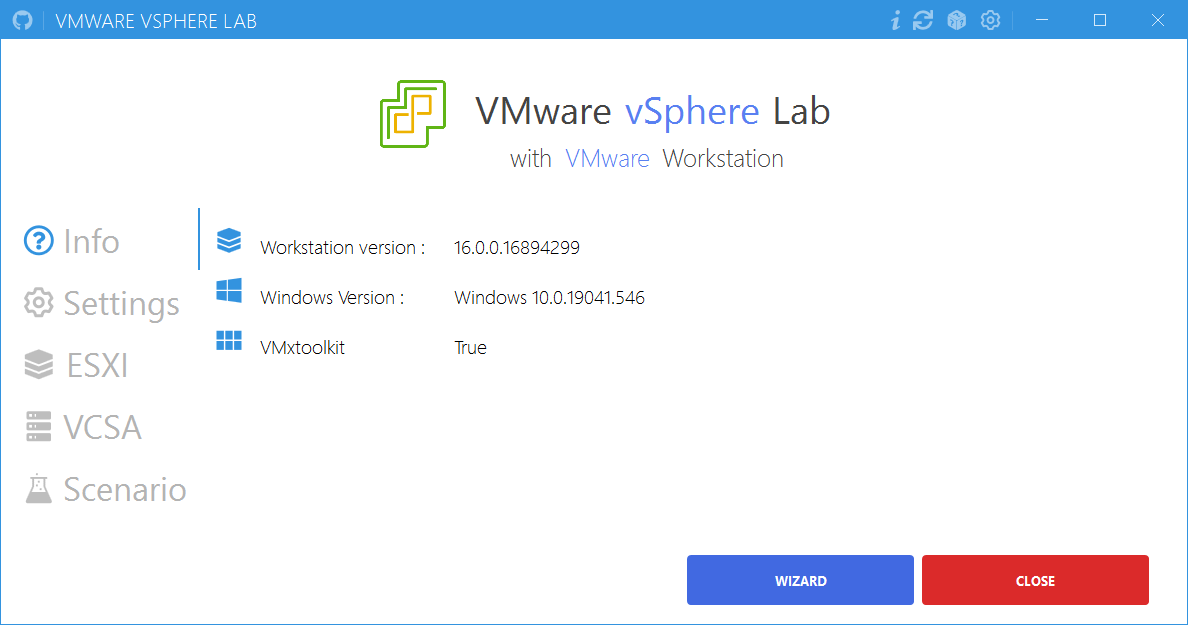
I this first section the application find some information about your PC and about VMware Workstation version.
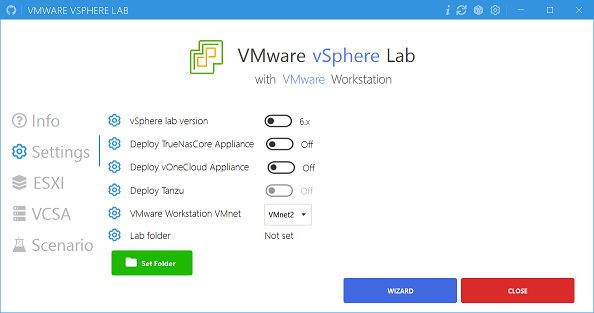
- We can define the version for the Lab 6.x or 7.x
- We can deploy with lab your TrueNasCore isn’t available yet
- We can deploy with lab your vOneCloud isn’t available yet
- We can deploy with lab your Tanzu isn’t available yet
- We must set the default Network by default
VMnet2 - We must set the Folder where your lab will be create. The application create all subfolder in the main directory.
2. ESXI Part
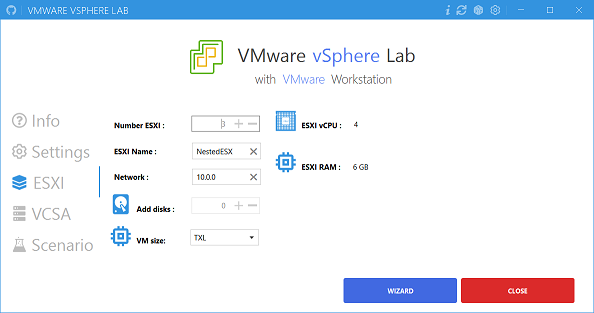
- We can set the number of ESXINode
- We can set the name for the ESXI VM by default: NestedESXI
- We can set the Network becarefull actually it works only with /24 network
- A this moment you can’t add aditionnal Disk
- We can modify the size for you VM
- vCPU number
- vRam
This parameter is set when you choose the version for your Lab by default in VMware vSphere 7.X ESXI must have 4 vCPU and 8 GB Ram
All ESXI have this network schema:
- NestedESXI1 = @Network+81 /24
- NestedESXI2 = @Network+82 /24
- NestedESXI3 = @Network+83 /24
The maximum of ESXI is 6.
3. vCenter VCSA
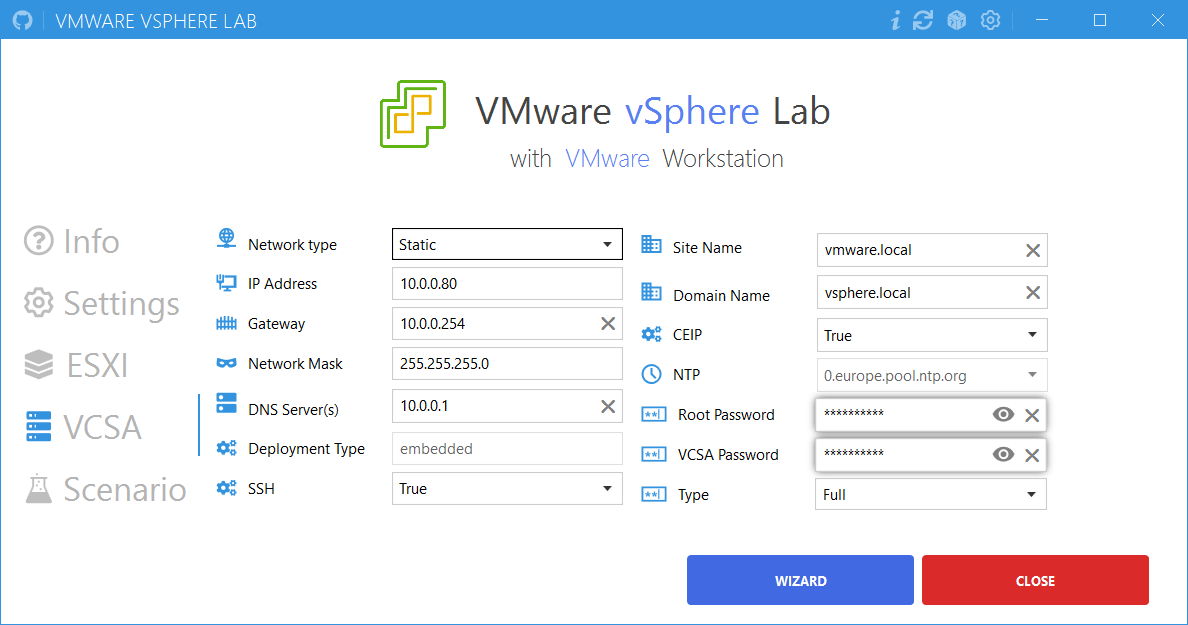
This panel permit to determine the parameter for your VCSA. Your VCSA will always have the @IP .80 and it can’t be change like the Network mask.
The root password and the VCSA password must be identical at this moment but I will change it 😉.
There is two mode of deployment:
- Full : this mode deploy your VCSA silently
- Config : this mode deploy your VCSA silently but you need to connect to the VAMI https://@IP:5480 to set all parameters to configure the second step to deploy your VCSA
4. Create Lab
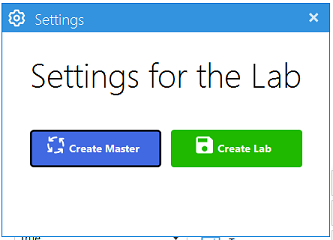
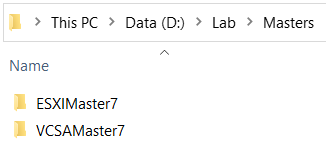
When You click on Create Master the application create and Import All OVA and create a template. in the folder Masters
Like This :
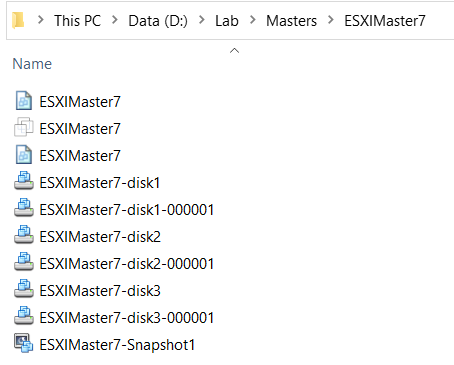
Here the master in V7 for my ESXI and VCSA
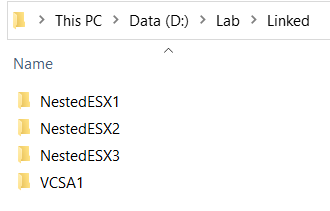
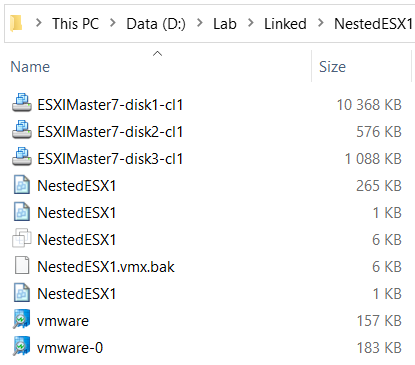
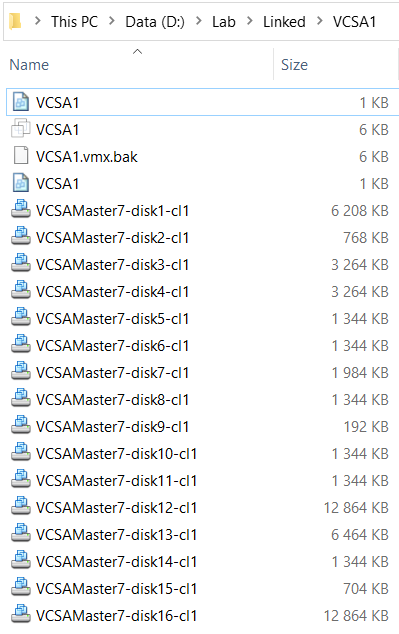
Here the master a snapshot is create and the VM will be use to create Linked Clone in the folder Linked.
Example for my first ESXI and my VCSA
4. Scenario Lab
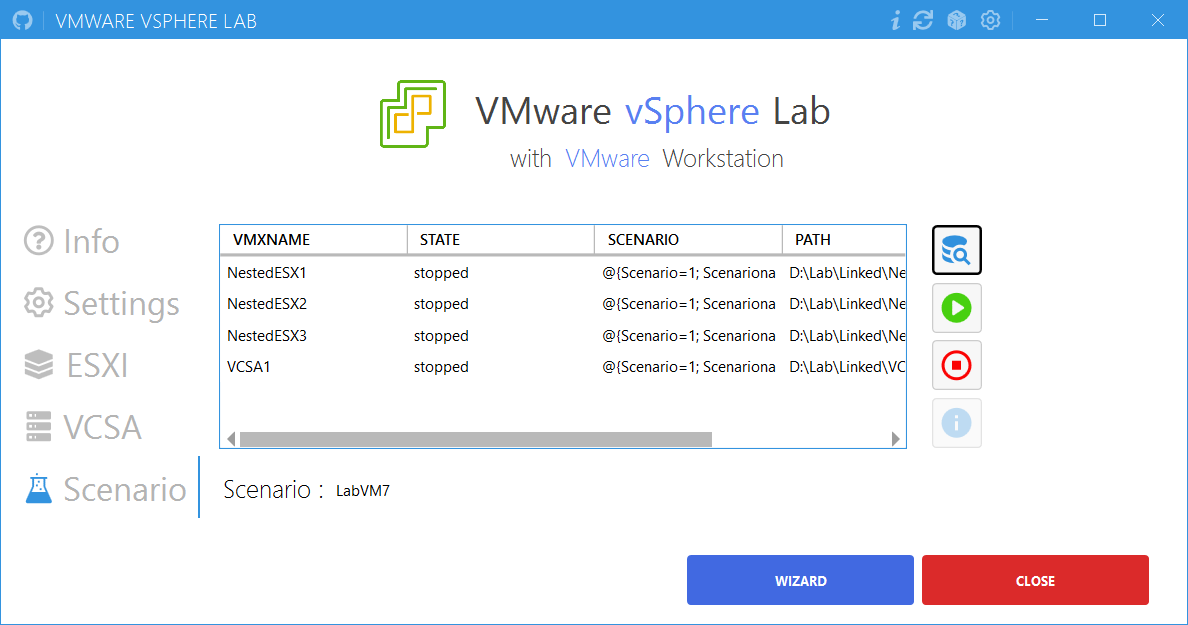
You can find VM assign by scenario, by default the scenario i set when you choose the Lab version LABVM67 for 6.X version et LABVM7 for 7.X
You can Launch, or Stop One VM or many VM with the button.
5. how to try

My project is available on Github here
Already is in Alpha version.
Thank’s for reading.
Written by Jérôme Bezet-Torres @JM2K69.

