Cloud Deployment with PSD
Cloud deployment is necessary in some scenarios, today I decided to setup a lab in VMware Workstation or you can also setup your lab in you favorite Hypervisor VMware ESXI or Hyper-V.
I setup two differents Lab in VMware vsphere in my production environement, the goal is to recude the deployment time and use the BranchCache feature P2P client with OSDToolKit thank’s for @2PintSoftware for all the free comunity Tools.
Welcome to PDT aka Powershell Deployment toolkit thank’s to all contributor of this community tool.

1.Discovery
1.1 Standalone Server
My Server have this functionnality, whitout Active Directory Domain (ADDS).
- Windows Server 2016 or 2019 standard edition
- 4 vCpu 6 Go de Ram
- 2 DD first 120 for OS and second 250 Go minimum
- 1 vNic Gigabit
My VM is created on
VMware Workstation16 but it works in 15.x.
We need to install DNS for your DNS name resolution adn a DHCP for @IP configuration.
1.2 Install Windows ADK 2004
- Download the Windows ADK for Windows 10, version 2004
- Download the Windows PE add-on for the ADK, version 2004
1.3 Install Microsoft Deployment Toolkit
For MDT you need to download the latest version with the latest update for MDT (Fix for UEFI and Bios detection 😉).
Your server is ready to play with PSD and MDT.
1.4 FriendsofMDT
Whe need to clone the repository to create a new DeploymentShare for PSD
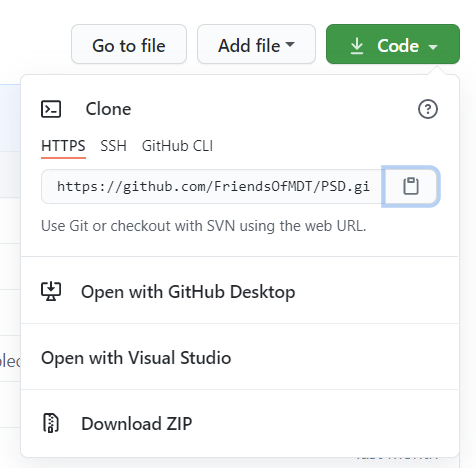
git clone https://github.com/FriendsOfMDT/PSD.git
Or if you can you can just download the repository as an Archive with the button Green Code then Download ZIP.
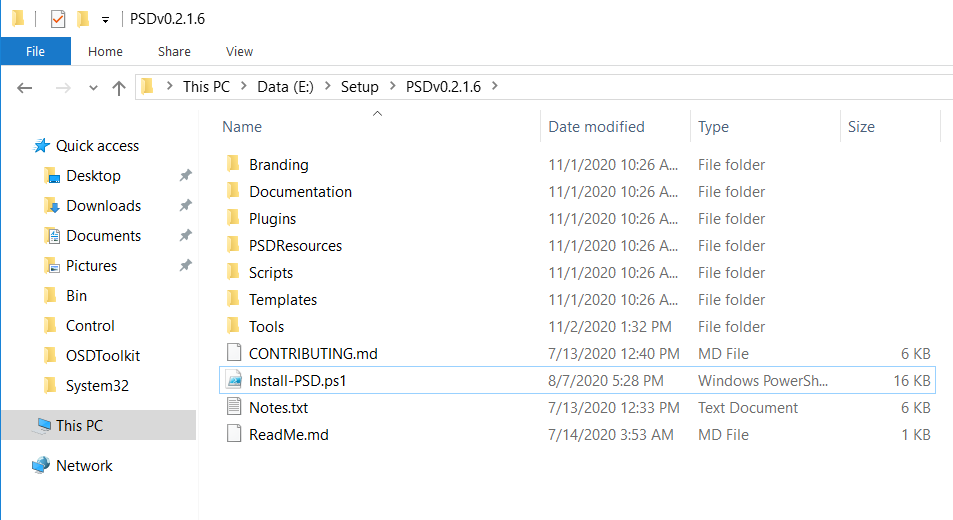
Depending you case if you download from an archive you need to expand and unblock all file
2 How to create and Configure PSD
2.1 Create your DeploymentShare
Open a PowerShell command and enter this :
PS E:\Setup\PSDv0.2.1.6> .\Install-PSD.ps1 -psDeploymentFolder E:\MDTProduction -psDeploymentShare MDTProduction -Verbos
e
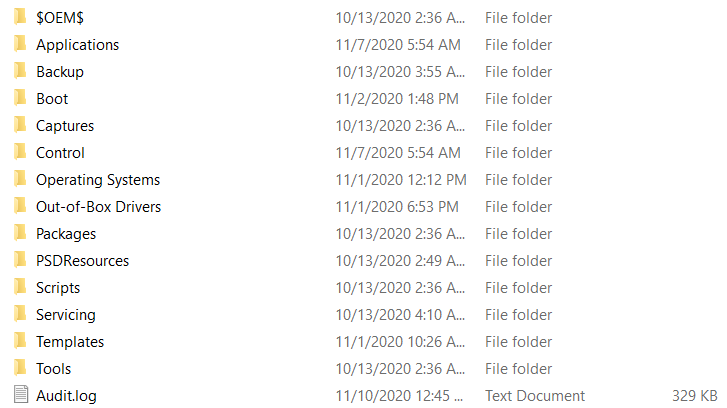
This Command create the DeploymentShare with MDT and Add all files in this make it work with PSD.
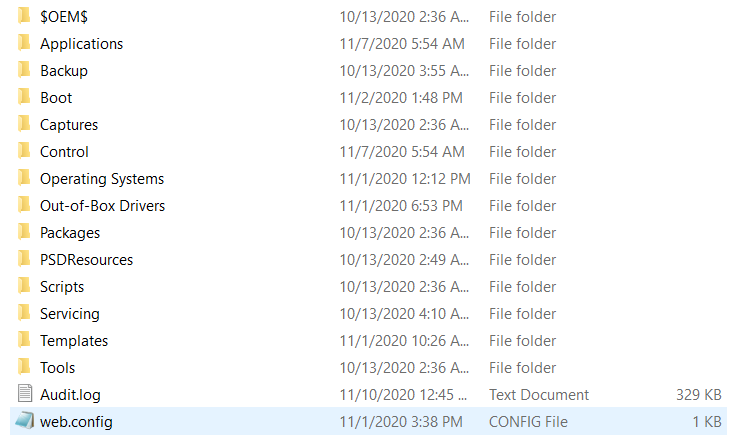
Yesthe script create my DeploymentShare and Add a Additionnal folder PSDResources. In this Directory all necessary files will be add for PSD.
2.2 Configure PSD
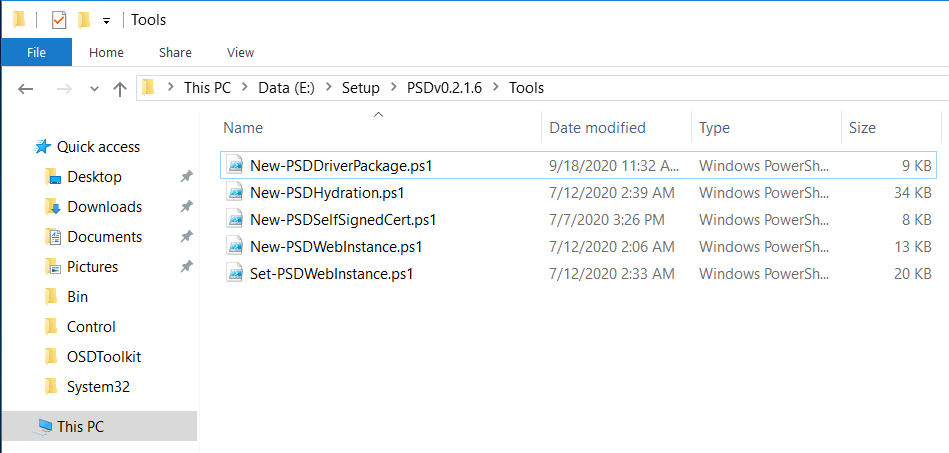
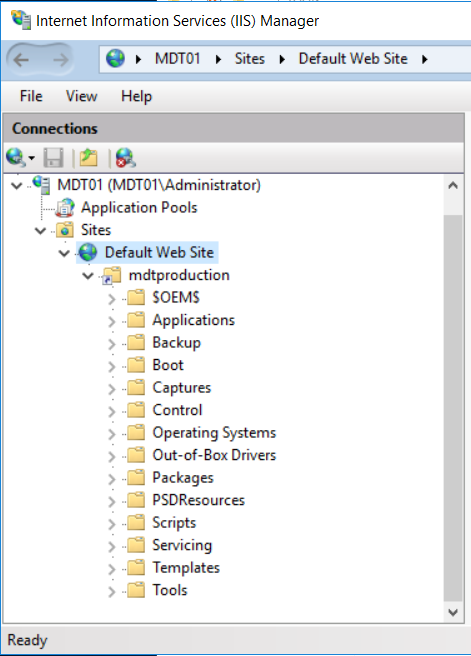
The advantage with PSD it don’t use a SMB share it use a web site and we need to install some feature and role to deploy with a web site. all scripts a in the Tools folder.
In order to support OS deployments using PSD when content is hosted on a web server, a series of configuration items must be completed. This document highlights and outlines the settings and steps known to work with PSD.
NOTE: All script don’t work if IIS Is already install.
- Install a Web install with the script:
PS E:\Setup\PSDv0.2.1.6\Tools> .\New-PSDWebInstance.ps1 -VerboseAnd reboot your VM or Server 🤨.
- Configure the IIS with Webdav for your environment:
PS E:\Setup\PSDv0.2.1.6\Tools> .\Set-PSDWebInstance.ps1 -psDeploymentFolder E:\MDTProduction -psVirtualDirectory MDTProd
uction -Verbose
You can find the config in your DeploymentShare a new file is gone web.config
- Install BranchCache Feature:
PS > Install-WindowsFeature BranchCache - Configure Imaging with HTTPS with SelfSigned Certificate
To support imaging via HTTPS you need to install a proper web server certificate, and make sure the Root CA is added to WinPE. If you export the Root CA to the PSDResources\Certificates folder, PSD will automatically add it to WinPE when updating the deployment share.
For lab purposes, we also provide a script New-PSDSelfSignedCert.ps1 that creates a self-signed certificate and exports it to the PSDResources\Certificates folder. You need to specify the deployment folder, the DNS Name of the cert, the validity period, and a friendly name. Sample syntax:
.\New-PSDSelfSignedCert.ps1 -psDeploymentFolder E:\MDTProduction -DNSName mdt01.jm2k69.loc -ValidityPeriod 2 -FriendlyName PSDCert
In the next part we configure and Add OS aka Windows 10 2004 Applications and Drivers and make the first Deployment via HTTPS and OSDToolkit 🤗.
Thank’s for reading.
Written by Jérôme Bezet-Torres @JM2K69.

